The cover on this thing was pretty easy to take apart by gliding a plastic pick along the edges of the screen. You will need the follow tools to perform this Nexus 5 repair.

Nexus 5 Teardown Disassembly Assembly Screen Repair Case Replacement Lg D821 820 Youtube
Before starting the repair make sure the device is completely powered off and the SIM card has been removed.

. Remove the Nexus 5 ear speaker. And at 349 16GB. I was quite shocked to find out the Nexus 5X didnt come with Qi Wireless charging when every other nexus device had it previously.
IFixit has become a benchmark when it comes to knowing if a device is easy or difficult to repair thanks to the pileup that passes through their hands the pileup that they disassemble until it is completely bare. How to Fix a Google Nexus 5 Step-by-Step Guide Make sure to turn off the device and remove the sim and sd card. So the day I got back from break I.
2 GB LPDDR3 RAM with 16 GB or 32 GB internal storage. Since we already know just about everything there is to know about the Nexus 5 theres not. Next disassemble as much of the phone as your comfortable with.
How to Fix a Google Nexus 5 Step-by-Step Guide. You have already seen the camera samples if not check out our detailed Nexus 5 review and apart from the slow speed of the camera you probably know that we came. Take the phone apart and remove battery.
In this tutorial we learn how to take apart the Google Nexus One. How to Disassemble Nexus 5 for Repair. This time it is the turn of the Nexus 5 that Google has presented.
Firstly pry out the Nexus 5 battery door staring form the top with the plastic pry tool then wedge the case opening tool between the Nexus 5 housing and the battery door. 18 GHz Qualcomm Snapdragon 808 hexa-core 64-bit processor with Adreno 418 GPU and Android Sensor Hub. Power off the Nexus 5 and remove the SIM card tray.
123 MP4K rear camera with laser-assisted autofocus and 5 MP front-facing camera. Remove the Nexus 5 earphone jack with the pry tool. Like the Nexus 5 the 5X got thumbs-up from iFixit for having many modular components that can be replaced on.
Peel off the Nexus 5 power button and volume button with the tweezers. The new Nexus 5 by Google in contrast put the focus straight on that oft neglected component in the Nexus series and includes an 8-megapixel shooter with optical image stabilization. Cracked my Galaxy Nexus and bought a new screendigitizer.
Google hasnt even launched its new Nexus 5 yet but the highly-anticipated handset has already been torn apart. No worries of hidden wires. Smartphone parts leaker Fanatic Fone awoke from its slumber on Thursday with a photo gallery showing Googles upcoming hero phone broken down and baring all.
Before we shuck the 5Xs housing lets see what it has in store for us. Reddit user Sockpockets took the back cover off his phone connected a microSD card adapter to the micro USB. After tearing down and repairing the LG G3 I received someones broken Nexus 5 also known as LG D820.
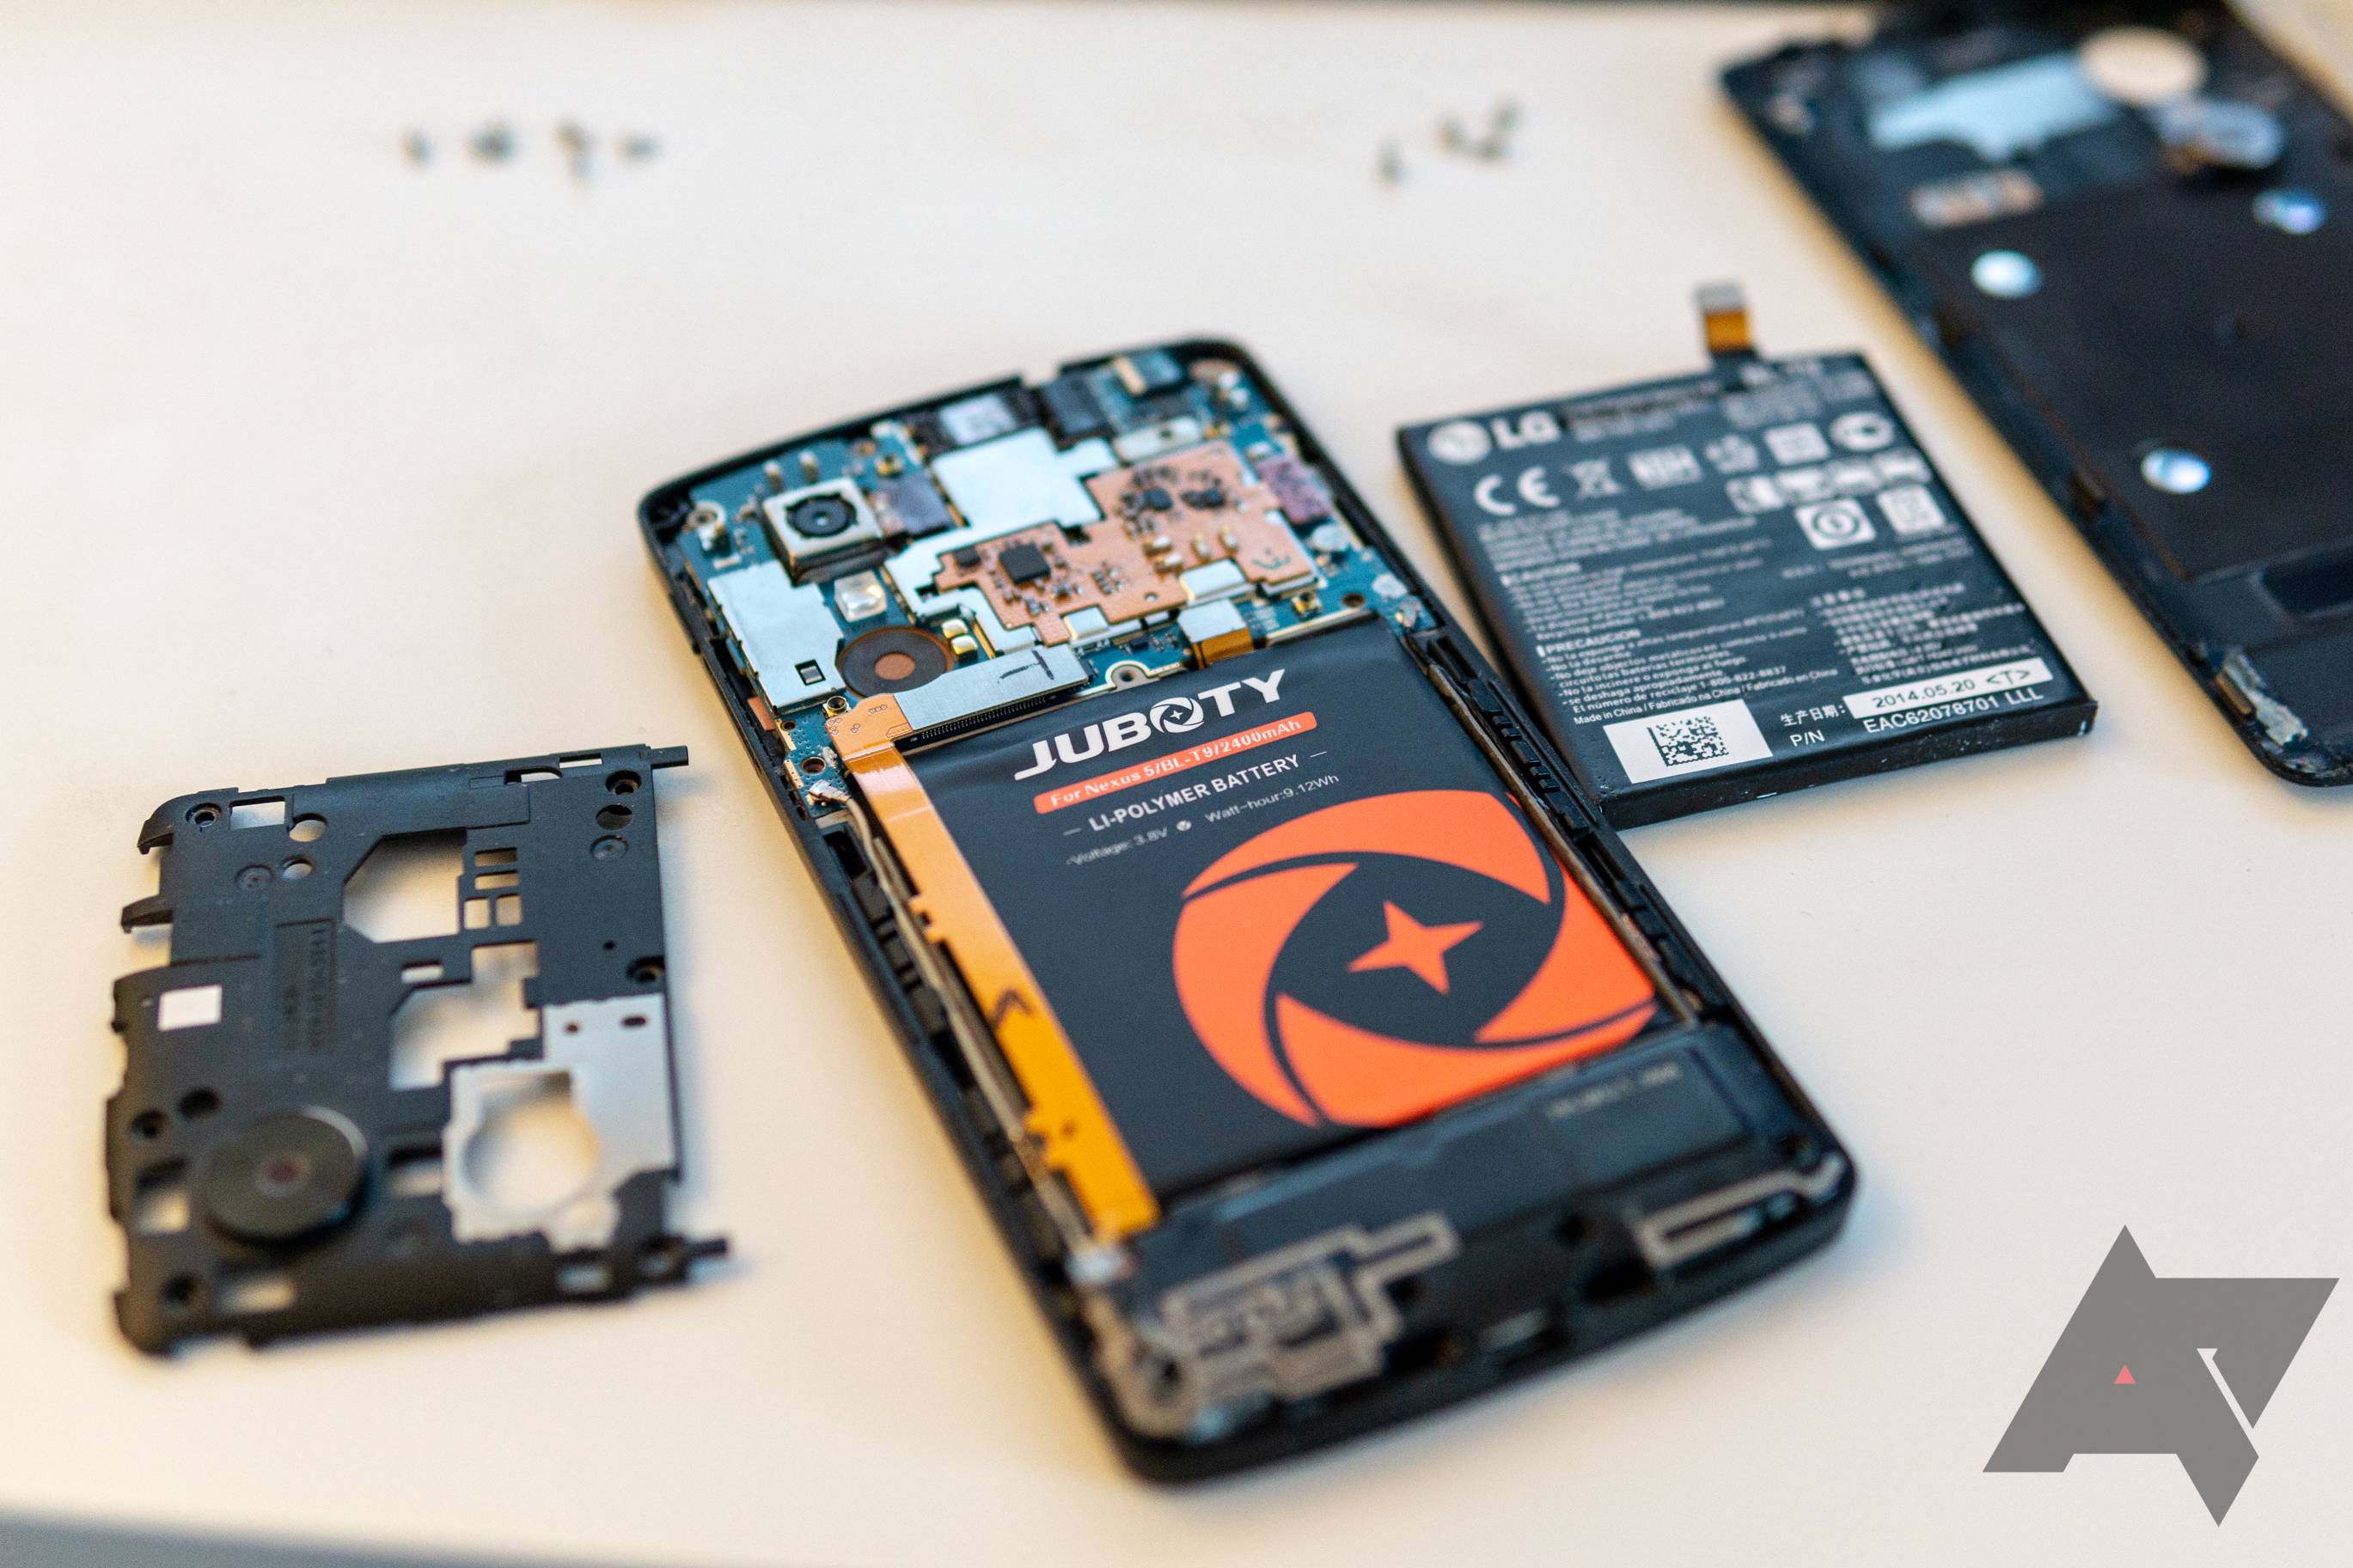
Use the plastic pry tool and case opening tool to remove the Nexus 5 battery door. With the back cover removed disconnect the battery by simply pulling out. So I took apart my new Nexus 5.
You will need the follow tools to perform this Nexus 5 repair. A part of the screen was shattered but the digitizer still worked. Once thats out everything else seems pretty straight forward in taking about.
Bought the digitizer to as it was one piece and didnt want to mess around with pulling the screen off and re-glueing it. The following repair guide will help you replace a Google Nexus 5 LCD Touch Screen Digitizer or other internal components. The Nexus 5 is fast gorgeous and stocked with features including LTE and it is the device for showing the true power of the Google universe and the Android operating system.
I managed to shatter the LCD and touchscreen yet leave the Gorilla Glass completely. Step 1 Nexus 5X Teardown. The following repair guide will help you replace a Google Nexus 5 LCD Touch Screen Digitizer or other internal components.
Remember to remove the rubber microphone gasket on Nexus 5 if the new screen replacement part you purchase does not include it. Start at the USB port module and slide the plastic tool or plastic knife and get between the back cover and. Once wedged in-between the back cover and the phone very slowly slide your plastic tool all the way around the.
Thats exactly what at least one person has done with a 2013 Google Nexus 5. The admittedly few problems. The Nexus 5X also uses standard Philips screws making it much easier to take apart.
Take out the SIM card tray 2. IFixit takes apart the Nexus 5 and finds its a snap to repair. Safe Open Pry Tool.
Begin by using the safe open pry tool to separate the back cover from the device by sliding the pry tool which release the clips and the back cover should come right off. Leave it in the rice for more than 24 hours I once salvaged a phone that went trough a washing cycle before not a Nexus 5 but also made by LG but I would let it sit in the rice for at least a week before trying to turn it back on. 49 votes 24 comments.
How to Fix a Google Nexus 5 Step-by-Step Guide Make sure to turn off the device and remove the sim and sd card. Figures 11 12 Using a safe open pry tool or a nylon spudger wedge between the back cover and the device starting at the top in order to pry off the back cover. Safe Open Pry Tool.
Paid more but. Safe Open Pry Tool.
Nexus 5x Repair Ifixit

Nexus 5 Repair Ifixit

Nexus 5 Teardown Disassembly Assembly Screen Repair Case Replacement Lg D821 820 Youtube
Using A Nexus 5 Is A Surprisingly Okay Experience In 2018

Nexus 5x Repair Ifixit

Nexus 5x Repair Ifixit

Nexus 5 Repair Ifixit

Nexus 5 Teardown Disassembly Assembly Screen Repair Case Replacement Lg D821 820 Youtube
0 comments
Post a Comment